Dilatometers
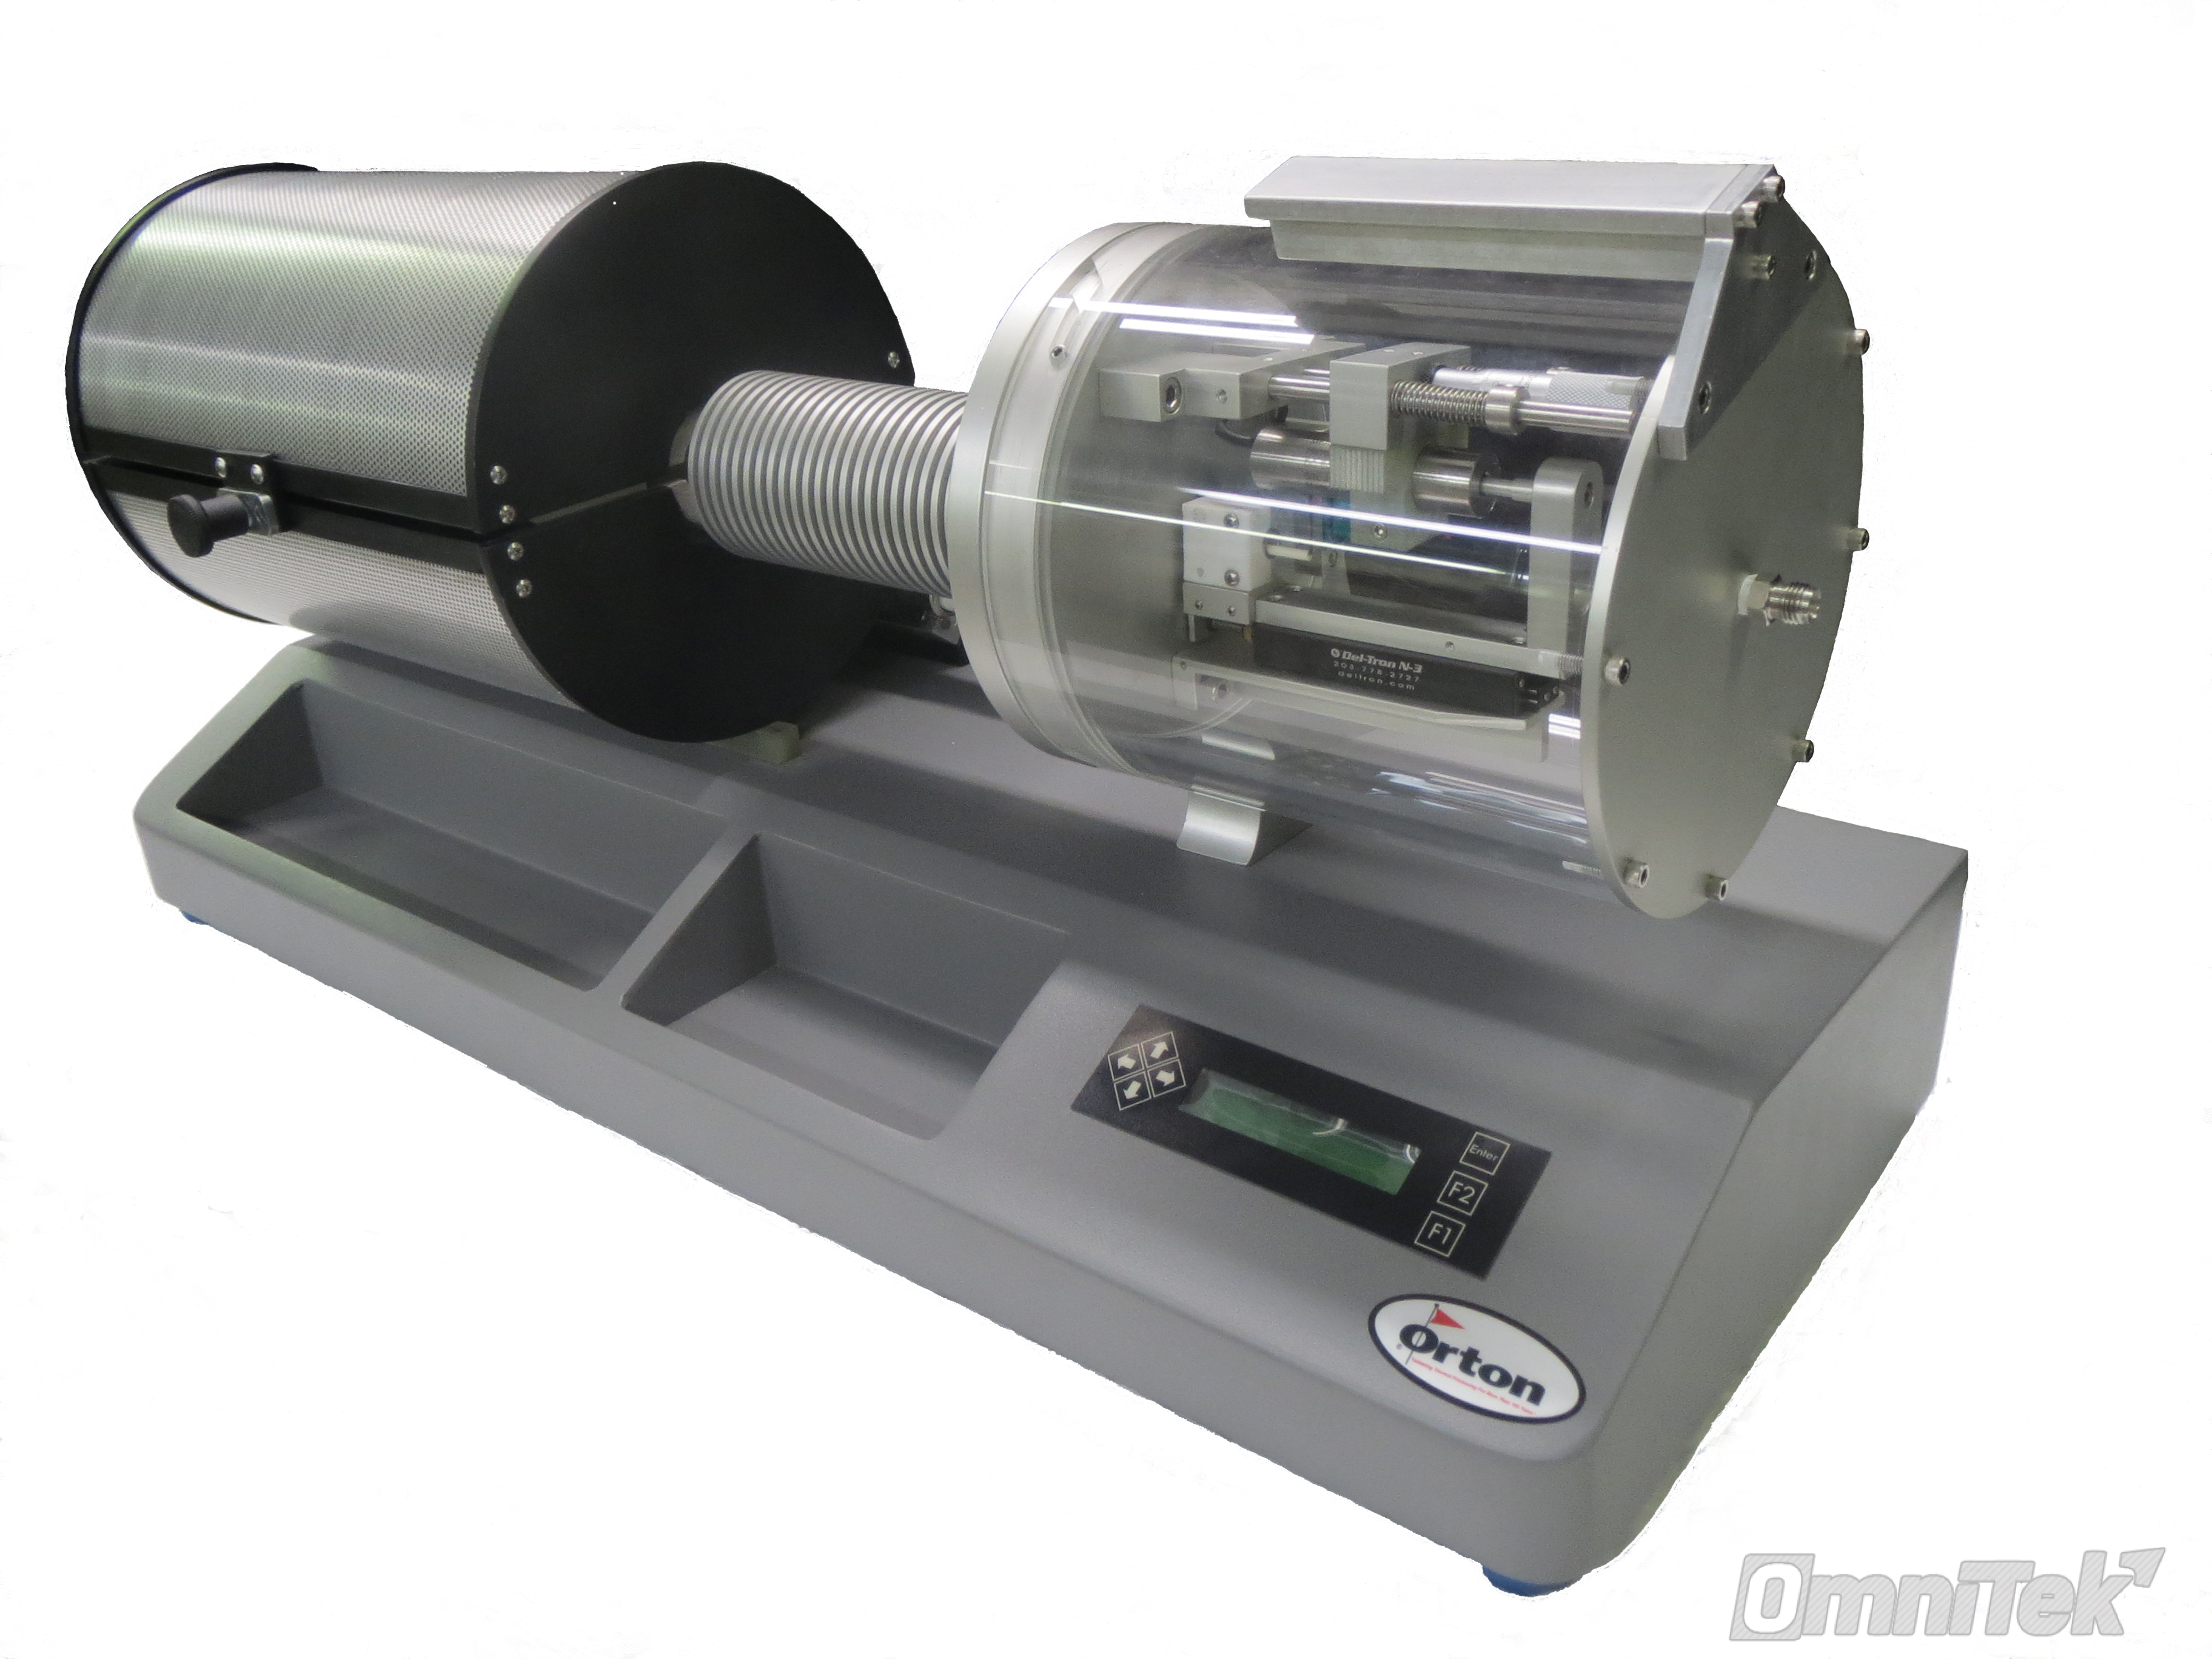
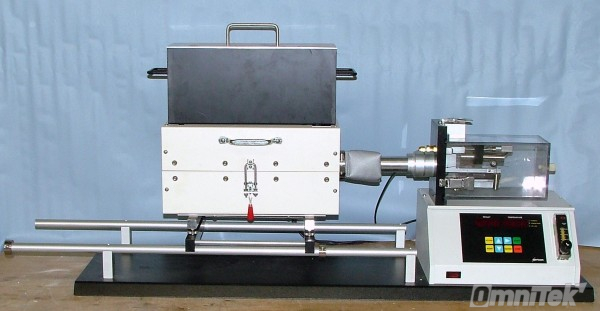
 Dilatometers (DIL) are used to measure the dimensional change of a material (ceramics, glasses, metals, composites, carbon/graphite, minerals, polymers, and others) as a function of temperature.
A standard dilatometer test determines both reversible and irreversible changes in length (expansion and shrinkage) during heating and cooling, and pinpoints where reactions occur that cause expansion or contraction.
An Orton dilatometer can be used to determine Coefficient of Thermal Expansion (CTE), softening point, glass transition temperature, curie point, crystalline transformation, phase transition, shrinkage, warping, bloating, sintering rate, isothermal creep, and stress relaxation. With a dilatometer, test samples are quickly and easily measured for determining firing ranges and firing schedules, measuring thermal expansion ranges for glaze fits, and measuring thermal expansion ranges for R&D, QC or product certification.
Horizontal Orton Dilatometers (ASTM-E228)
The main advantage of the horizontal system is the uniform temperature zone for the sample. Most tests are performed with a horizontal unit.
The sample is positioned between the end of the sample holder and the probe rod. After positioning the sample in the sample holder, the furnace is moved horizontally to cover the sample and sample holder.
The probe rod extends from the end of the sample, through the sample holder tube, and connects to the displacement sensor assembly outside the furnace. The probe rod is under load outside the furnace to keep it in constant contact with the sample, even when shrinking.
Dilatometers for Plastics (ASTM-D696)
Determine thermal expansion coefficient between -30C to +30C with Fused Silica sample holder system.
Dial gage systems with temperature controlled sample bath.
The sample specimen is placed inside a silica tube holder, A probe rod extends from the end of the sample, within the sample holder tube and contacts the dial gage. The sampleholder is placed into a temperature controlled bath for expansion measurements from -30C to +30C.
NOTE: These dilatometers for plastics are special order and require extra delivery time.
Computer Analysis
Every Orton dilatometer is supplied with the application software to be installed on the enduser’s PC in order to acquire, save and analyze the data generated. The Orton Dilatometer Software is written for Windows based personal computers. For Standard Horizontal dilatometers,the software allows the test to be remotely programmed and started. It can be used to monitor the test in real time, or can be used to examine the data after the test cycle. The software imports the data through the USB interface and stores it on the hard drive for post-testing analysis.
Contact us today: baldwin@ortonceramic.com or Call 614-818-1330 to discuss your application.
Model 2010 C
General
Orton dilatometer Model 2010C is a horizontal, digital dilatometer that measures the expansion or contraction of a single test specimen from -190°C to +500°C or RT to 1000°C with on-board, stand-alone, programmable process controller and linear motion measuring head assembly equipped with LVDT sensor.
Operated according to ASTM E-228, ASTM C-372, or ISO 7991
Includes
- Bench top instrument console
- 1000°C split tube furnace
- programmable process controller
- Fused Quartz sample holder and Fused Quartz probe rod assembly
- Liquid Nitrogen delivery system
- Controlled Atmosphere components
- Type “N” thermocouple
- 1 (25.4mm) calibration samples
- Computer software
- Accessories and instruction manual. (Computer not included)
Specifications
| Model | DIL 2010 C |
| Warranty | 12 Months |
| Temperature Range | RT to 1,000°C or -190C to 500C |
| Furnace | Split Tube style, 12 inch heated zone |
| Thermocouple | Type “N 2 wire |
| Sample Holder and Probe Rod | Fused Quartz |
| Sample Size (max) | 50 mm long x 10 mm round or square |
| LVDT Displacement Range | ±0.100 inch (±2.54 mm) |
| Displacement Resolution | 0.0000009 inch or 0.9 micro-inch (0.00002 millimeter or 0.02 microns) |
| PLC Resolution for a 1 Sample | 0.00009% |
| Reproducibility Range | ± 0.004 Percent Linear Change |
| Contact Load | Adjustable – minimum 4 grams |
| Temperature Control | User Programmable, 20-segment, PID Controller with Melting Point Protection |
| Heating Rate | 1 to 30°C/minute Programmable at 0.01°C increments |
| Power Requirements | 120vac/10amp or 240vac/5amp 50/60Hz |
| Data Acquisition | On-board Process controller – data stored at 1°C increments, real-time data collection or data retrieval to computer |
| Data Analysis | Remote programming and analysis Software (Requires English Language Version of Windows OS) |
| Computer Interface | RS232 or USB with adapter |
| Factory Calibration | high purity platinum |
| Calibration Sample | 99.8 Alumina and Copper; Platinum available as Option |
| Water Cooled Bulkhead | Optional (water circulation system not included) |
| Measuring Head Cover | Included |
| Controlled Atmosphere Option | Included |
| Fused Silica Calibration Sample | Optional |
| Bench-top Footprint (open) Length x Depth x Height | 49 x 14 x 24 (1,250 x 360 x 600 mm) |


